Start a Thriving Home Garden
A practical, step-by-step guide to starting a productive home garden — from soil prep and plant selection to natural pest control and common mistakes to avoid.


Growing your own food is one of the most practical skills you can develop. According to the National Garden Bureau, roughly 55% of U.S. households now maintain some form of garden, and a record 64% of gardeners plan to expand their plots in 2026. Those numbers reflect something deeper than a passing trend — they point to a growing recognition that the ability to produce even a portion of your own food is a genuine form of resilience.
Whether you have a quarter-acre backyard or a few square feet of balcony space, this guide covers everything you need to go from bare soil to a productive home garden. We'll walk through plant selection, soil preparation, space setup, natural pest management, and the common mistakes that trip up first-time growers.
Why Growing Your Own Food Matters
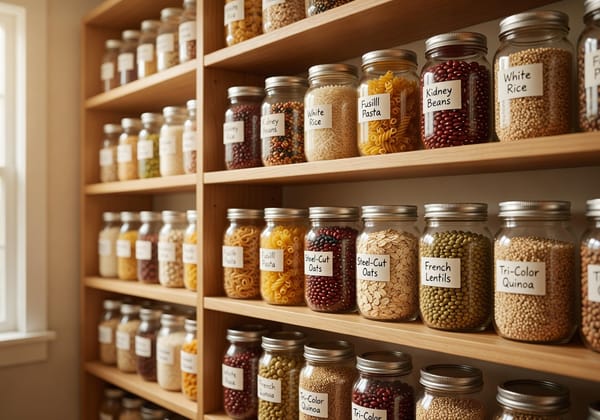
The practical case for home gardening is straightforward. Fresh produce costs less when you grow it yourself, you control exactly what goes into and onto your food, and you reduce your dependence on supply chains that can be disrupted by weather events, transportation issues, or economic shifts.
But the benefits extend well beyond the grocery bill. Research consistently shows that regular gardening activity reduces stress and improves mood — the combination of physical movement, sunlight exposure, and focused attention on living things has measurable effects on mental health. A well-maintained garden can also increase property value by 10–20%, according to landscape industry data.
Perhaps most importantly, gardening builds a kind of practical knowledge that compounds over time. Each season teaches you something new about your local growing conditions, and that accumulated understanding becomes genuinely valuable.
Selecting Plants That Actually Succeed
The single biggest mistake new gardeners make is planting too many varieties at once. Start with three to five crops that match your climate, your available sunlight, and — critically — what you actually enjoy eating. A garden full of kale you never cook is a garden that teaches you frustration, not self-reliance.
Herbs: The Fastest Return on Effort
Basil, parsley, mint, cilantro, and rosemary are ideal starting points. They grow quickly in containers or small beds, require minimal space, and make an immediate difference in your cooking. A single basil plant on a sunny windowsill produces enough leaves to replace months of those plastic clamshell packages from the store.
Many herbs also serve double duty as natural pest deterrents. Planting mint or rosemary near vulnerable vegetables can help discourage aphids and other common garden insects.
Vegetables: Reliable Choices for Beginners
Radishes are the fastest vegetable you can grow from seed — many varieties are ready to harvest in three to four weeks. Lettuce and baby greens follow closely behind, often harvestable within 30 days. Both are forgiving crops that tolerate partial shade better than most vegetables.
For slightly more ambitious growers, green beans, zucchini, and cucumbers produce generous yields with moderate care. Tomatoes remain the most popular home garden crop for good reason — a single healthy plant can produce 10 to 15 pounds of fruit over a season — though they require consistent watering, full sun, and support structures as they grow.
Root vegetables like carrots and beets work well in loose, well-drained soil and need very little attention once planted. Check your region's growing season before committing: cool-weather crops like spinach and peas perform best in spring or fall, while peppers and eggplants need sustained summer heat.
Match Your Climate
Your local conditions determine what thrives and what struggles. Gardeners in hot, dry regions should lean toward drought-tolerant options like rosemary, beans, and certain tomato varieties. Cooler climates favor hardy greens like kale, Swiss chard, and peas.
If you're in the United States, look up your USDA Plant Hardiness Zone to understand your area's temperature range. A conversation with staff at a local nursery is often worth more than hours of online research, since they know exactly what performs well in your specific microclimate.
Understanding Soil: The Foundation Everything Depends On
Plants are only as healthy as the soil they grow in. This is the area where most beginners underinvest their time, and it's the single factor that makes the biggest difference in garden productivity.
Know What You're Working With
Soil comes in three basic types: sandy (drains fast, holds few nutrients), clay (retains water, can suffocate roots), and loamy (the ideal balance of drainage and nutrient retention). Pick up a handful of your garden soil and squeeze it. If it falls apart immediately, it's sandy. If it forms a tight, sticky ball, it's heavy clay. If it holds together loosely and crumbles when prodded, you've got good loam.
For more precision, pick up an inexpensive soil test kit from a garden center. Most edible plants prefer slightly acidic to neutral soil with a pH between 6.0 and 7.0. If your soil falls outside that range, you can amend it — lime raises pH, while sulfur lowers it.
Build Fertility With Compost
Compost is decomposed organic matter, and it's the most effective thing you can add to any soil type. According to the EPA, compost improves soil structure, helps retain moisture, reduces erosion, and slowly releases nutrients that feed plants over time. It also increases earthworm and microbial populations, which support long-term soil health.
You can buy bagged compost, but making your own is simple and free. Collect kitchen scraps — vegetable peels, coffee grounds, eggshells, fruit cores — and layer them with "brown" materials like dried leaves, cardboard, or straw. Keep the pile moist (not soaked), turn it every week or two with a garden fork, and in two to four months you'll have rich, dark compost ready to use.
Mix two to four inches of compost into the top six to nine inches of your garden soil before planting. Throughout the growing season, add a thin layer around the base of plants as a top dressing — it feeds the soil and suppresses weeds simultaneously.
Watering: Less Art, More Observation
Overwatering kills more garden plants than underwatering does. The simplest test is to push your finger about an inch into the soil. If it feels dry at that depth, water. If it's still moist, wait.
Water in the early morning when possible. This gives plants time to absorb moisture before the heat of the day, and allows foliage to dry out, which reduces the risk of fungal diseases. Drip irrigation or soaker hoses deliver water directly to roots and waste far less than overhead sprinklers.
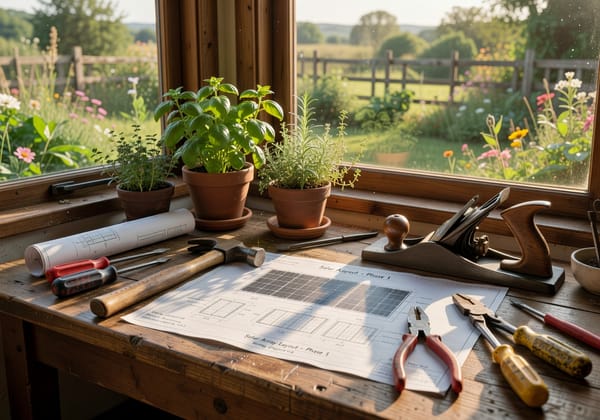
Setting Up Your Growing Space
You don't need a large yard to grow meaningful quantities of food. The key is matching your approach to the space you actually have.
In-Ground Beds
If you have a yard, identify a spot that receives at least six to eight hours of direct sunlight daily. Clear any existing weeds, loosen the soil to a depth of about 12 inches with a garden fork, and work in a generous layer of compost. Raised beds — even simple ones made from untreated lumber — offer better drainage and make it easier to control soil quality.
Container Gardening
Containers open up gardening to anyone with a balcony, patio, or even a sunny doorstep. Herbs, lettuce, peppers, and compact tomato varieties all grow well in pots. The two non-negotiable requirements are drainage holes in the bottom of every container and a quality potting mix (garden soil alone compacts too heavily in pots).
Containers dry out faster than in-ground beds, so expect to water more frequently — daily during hot weather. Grouping pots together helps retain humidity around the plants.
Vertical Growing
Vertical gardening makes excellent use of limited floor space. Trellises support climbing crops like peas, pole beans, and cucumbers. Stacked planters or wall-mounted pockets work for herbs and strawberries. A single four-foot trellis against a sunny wall can produce a surprising volume of food.
Managing Pests Without Chemicals
Every garden attracts insects. The goal isn't to eliminate them — it's to maintain a balance where beneficial organisms keep destructive ones in check.
Identify Before You Act
The most common garden pests include aphids (clusters of tiny soft-bodied insects on new growth), slugs (irregular holes in leaves, slime trails), and caterpillars (large, clean-edged holes in foliage). Before you intervene, make sure the insects you're seeing are actually causing damage. Many garden visitors — ground beetles, spiders, parasitic wasps — are allies that prey on the pests you want to eliminate.
Encourage Beneficial Insects
Ladybugs consume enormous quantities of aphids. Lacewings, hoverflies, and parasitic wasps all prey on common garden pests. You can attract these beneficial insects by planting flowers like alyssum, yarrow, and dill among your vegetables — a practice called companion planting that gives beneficial insects habitat and nectar sources.
Simple Physical Controls
Row covers — lightweight fabric draped over plants — create a physical barrier against flying insects while still allowing light and water through. Copper tape around the rims of containers deters slugs effectively. Hand-picking larger pests like caterpillars and horn worms remains one of the most reliable control methods, especially in smaller gardens.
A diluted soap spray (a few drops of pure castile soap in a spray bottle of water) can knock back aphid populations, but test it on a single leaf first and avoid spraying in direct sunlight to prevent leaf burn.
A Practical Planting Sequence
Once your soil is prepared and your space is set up, the actual planting process follows a logical order.
First, research the planting dates for your area. Seed packets include this information, and the Old Farmer's Almanac planting calendar provides dates customized by zip code. Timing matters — planting too early risks frost damage, while planting too late may not leave enough growing days before fall.
If you want a head start, sow seeds in small indoor trays six to eight weeks before your last expected frost date. Place them near a bright window or under a simple grow light, keep the soil moist, and transplant seedlings outside once nighttime temperatures stay consistently above 50°F for warm-season crops.
When planting outdoors, follow the spacing recommendations on each seed packet. Crowded plants compete for light, water, and nutrients, which reduces yields across the board. After planting, apply a two- to three-inch layer of organic mulch — straw, shredded leaves, or grass clippings — around (not against) plant stems. Mulch retains moisture, suppresses weeds, and regulates soil temperature.
From there, the routine is consistent care: water when the soil needs it, pull weeds while they're small, and check plants regularly for pest activity. Harvest crops as they ripen — regular picking signals most plants to continue producing.
Troubleshooting the Most Common Problems
Yellowing leaves are the most frequent concern for new gardeners. The cause is almost always one of three things: overwatering (check soil moisture before adding more water), nitrogen deficiency (side-dress with compost or a balanced organic fertilizer), or insufficient sunlight (move containers or note the spot for next season's planning).
Slow growth usually points to compacted soil, inadequate sun, or temperatures outside the plant's preferred range. Bolting — when a plant sends up a flower stalk prematurely — typically results from sudden heat stress. Lettuce and cilantro are especially prone to this; succession planting every two to three weeks ensures a continuous harvest even when some plants bolt.
The most important thing to remember is that every problem is a data point. A tomato plant that developed blossom end rot teaches you about calcium availability and inconsistent watering. A crop of radishes that turned woody tells you they stayed in the ground too long. Keep a simple garden journal — even just notes in your phone — and each season will produce better results than the last.
Building a Skill That Compounds
A home garden won't replace your grocery store overnight, and it doesn't need to. What it will do is steadily build your understanding of how food grows, what your local environment can support, and how to produce something tangible from basic inputs of soil, water, and attention.
That knowledge compounds. Your second season will outperform your first. By your third year, you'll have strong intuitions about timing, spacing, soil needs, and pest patterns that no guide can fully teach. And along the way, you'll eat better food, spend less money, and develop a practical capability that remains useful regardless of what happens in the broader economy.
Start with three plants, one good bag of compost, and a willingness to pay attention. The rest follows from there.